In the trial production process, the grinding wheel is used for grinding, and the grinding wheel is trimmed in real time by the grinding wheel dressing function of the machine tool to compensate the grinding wheel loss. By programming, the wheel dressing amount is preset, so that the grinding wheel is trimmed every time the machine finishes grinding, the number of dressings and the amount of dressing are recorded and compensated in the NC program. Coordinate Compensation Schematic To eliminate the normal grinding, it is necessary to eliminate the error caused by the offset of the workpiece coordinate system. First, it is necessary to find the offset X of the transformed workpiece coordinate system relative to the original workpiece coordinate system in the X-axis direction and the offset Z above the Z-axis direction, and then compensate the workpiece coordinates according to the offset. The measurement compensation amount is determined by measuring the position of the tool and the grinding wheel to determine the offset of the workpiece coordinate system. That is, a ball having a diameter smaller than the diameter of the ball bearing is used as the tool setting member, and the distance between the grinding wheel and the spherical surface at different grinding positions is measured. The offset can be found, the principle is as shown. The distances of the corresponding points 1 and 2 above the concentric sphere are equal. If they are not equal, the spheres of the two spheres do not coincide. By observing and measuring the distance between the grinding wheel and the shape of the workpiece, it is judged that the offset of the workpiece coordinate is obtained, and the coordinate system is compensated.
Simulate the effect of ambient temperature changes on the shape of the ball bearing through a finite element tool. Set the processing environment temperature to 20%, the loaded temperature load is 1%, and observe the effect of 1% temperature change on the shape of the workpiece. As shown in the analysis, under the condition of 20%, the maximum deformation of the workpiece caused by the temperature change of 1% is located above the process chuck, which is 250210-4mm, and the deformation of the ball bearing sphere is between 1610-42010-4mm. On this basis, for every 1% increase in temperature, the amount of deformation of the workpiece also increases exponentially. According to the finite element analysis, the accuracy of the bearing can be guaranteed when the ambient temperature is controlled within 1%. Therefore, in order to ensure that the external dimensions of the workpiece can meet the requirements, it is necessary to control the ambient temperature during processing to be within 1%.
Grinding example Ball bearing inner ring physical diagram In the example processing, the bearing steel GCr15 is used as the ball bearing material. Grinding wheel adopts 2530 grinding wheel, grinding wheel rounding is R3, grinding wheel swing angle is calculated according to calculation 38; grinding spindle maximum speed is 60000r/min, 4000r/min is used in this machining; C axis drives workpiece to rotate around Z axis, its rotation speed is 400r/min; the cooling method is water-cooled, and the processing environment temperature is controlled at 201%. The inner ring of the ball bearing obtained by grinding by this method has a surface roughness of Ra02m.
(Finish)
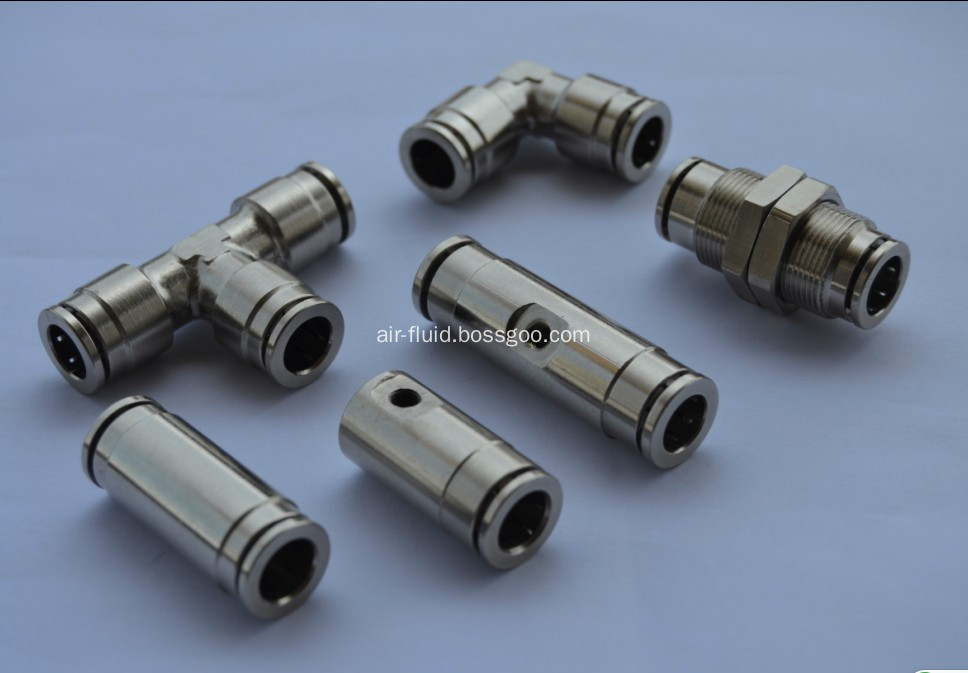
Cixi Air-Fluid Pneumatic Components Co.,Ltd ,a leading manufacturer of Mist Cooling Systems Fitting in China .
2.Slip Lock Union 3/8"
3. Slip Lock Misting Tee 3/8"
4.Slip Lock Tee 3/8"
5.Slip Lock Elbow 3/8"
6.Slip Lock Male 3/8" to 1/4" Adaptor
The Suitable Size:3/16 ' 3/8' 1/4' Nylon Tubing

Misting Cooling Systems Fittings
Misting Cooling Systems Fittings, Mist Cooling System, Outdoor Mist Cooling System, High Pressure Misting System
Ningbo Air-Fluid Pneumatic Components Co., Ltd , http://www.air-fittings.com