Model NO.: WDW
Loading Method: Dynamic Load
Display: Digital
Control: Computer Control
Weight: 100-500Kg
Power Source: Customzied
Oil Cylinder Position: None
Maximum Test Force (Kn): 05 1 2 5 10 20 50 100
Test Machine Level: 1 or 0.5
Operation Mode: Microcomputer Control (Chinese or English Software
Force Measurement Range: 2%-100% or 4%-100% of The Maximum Test Force
Deformation Display Error: ±1% or±0.5%
Test Stroke: Could Be Customized
Working Environment: Temperature -45 ° C, Humidity 20% -80%
Protection Function: Overload Protection, Limit Protection
Meet The Standard,: Accord to National GB/T2611 Standard
OEM: Support
Trademark: Hiwoc
Transport Package: Plywood Case
Specification: 700x580x1720mm
Origin: China
WDW SeriesMicrocomputer control electronic universal testing machine
Mainframe structure
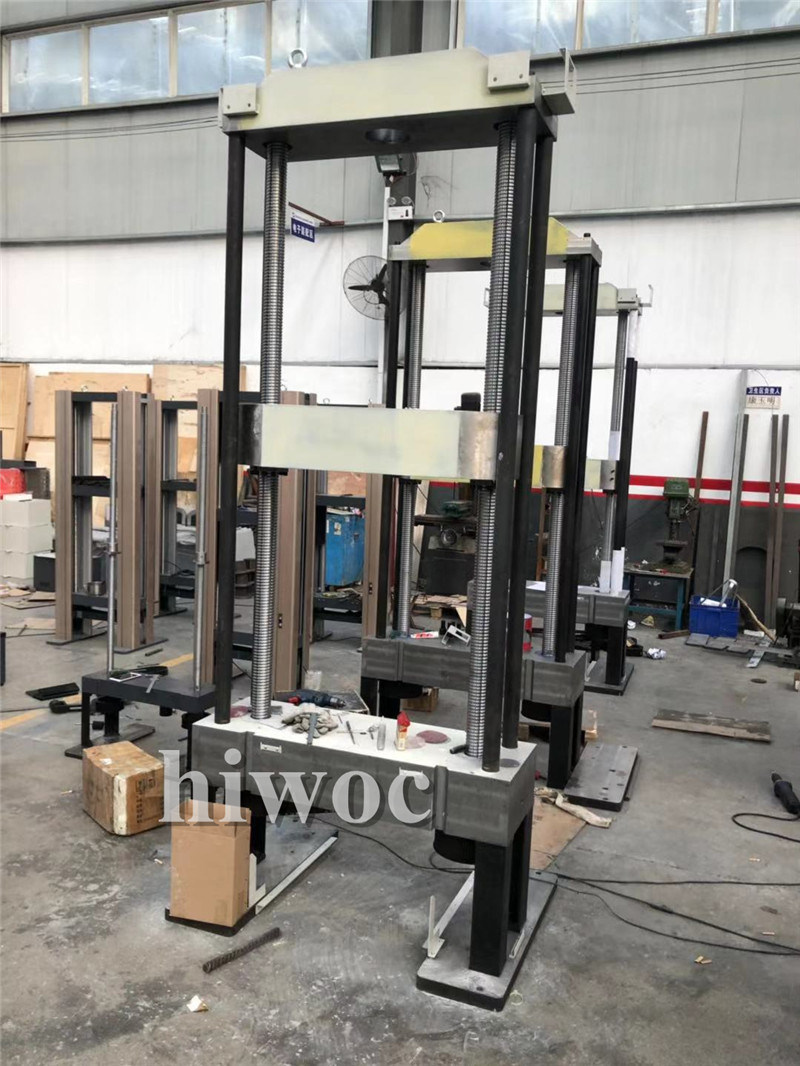
1. The gantry floor-standing structure absorbs the production technology of Japan Shimadzu and Germany Zwick.
2. The upper beam, the middle beam, the lower beam and the bottom panel form a frame structure through two pairs of ball screws, which ensures the rigidity of the frame structure.
3. Adopt all-digital AC servo motor to drive two pairs of high-precision non-gap ball screw to transmit through the noise-free synchronous toothed belt to ensure smooth loading, no gaps and high transmission efficiency.
Displacement measuring device
With 5000 line photoelectric encoder, the relative accuracy of displacement is ≤±0.5%
Test attachment
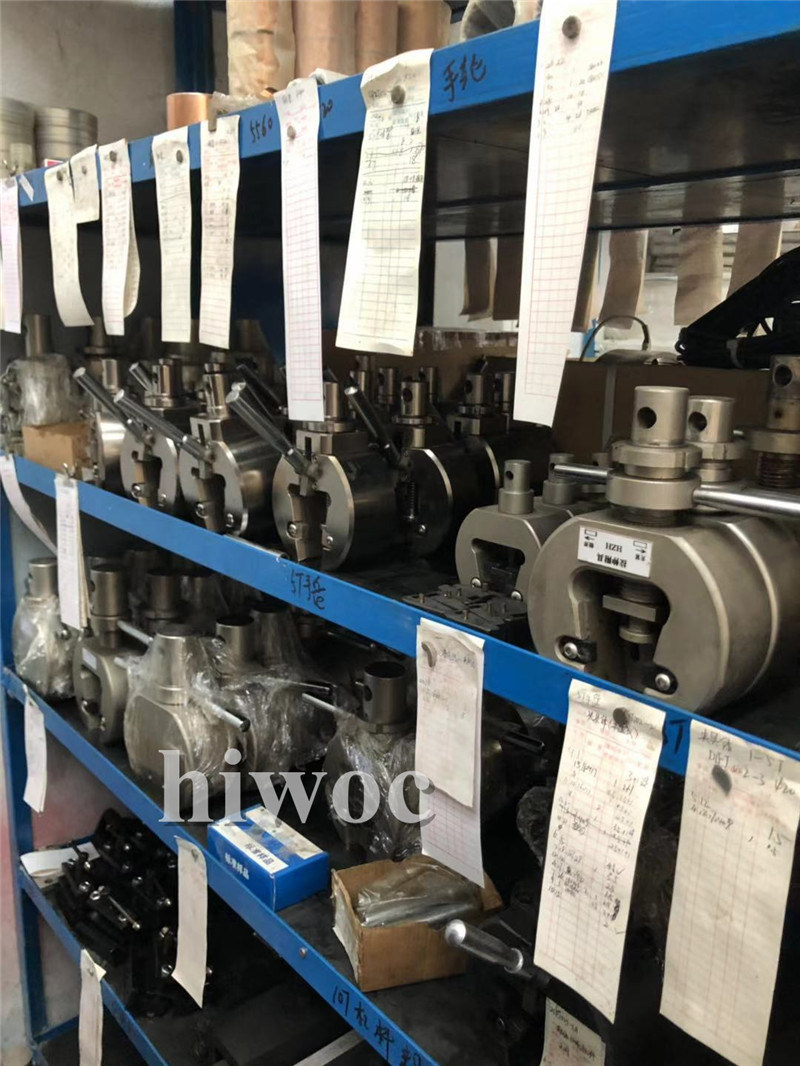
The high degree automation of the test process and dozens of different attachments can meet the testing requirements for a wide range of materials.
Test force measurement
1. High-precision, high-stability wheel type strain sensor with high-precision measurement and amplification system to ensure high precision of test force
2. Multiple sensors can be used according to user requirements to achieve a wider range of test force measurements
Limit switch
This series of testing machines has limit protection function, which automatically stops when the limit is reached.
Software system
The famous brand computer is used like Lenovo, and the control system software is based on the Windows XP operating system. It has the characteristics of fast running speed, clear interface and simple operation, which can meet the test requirements of different materials. Physical testing of various materials can be carried out according to international standards, national standards or industry standards.
Function Features
1. The speed of the moving beam during the test can be changed automatically according to a preset program or manually.
2. Automatically switch to the appropriate range according to the load size to ensure the accuracy of the measurement data, zero adjustment of the test force measurement, calibration and save, without any analog adjustment link, the control circuit is highly integrated
3. Automatic calibration: the system can automatically realize the calibration of the indication accuracy
4. Auto save: At the end of the test, the test data and curve are automatically saved.
5. Process test: test process, measurement, display and analysis are all completed by microcomputer
6. Batch test: Samples of the same parameters can be completed in sequence after setting once.
7. Test software: Chinese and English windows interface, menu prompts, mouse operation.
The main technical parameters
| Main Specification | WDW | |||
| 05Â Â 1Â Â 2Â Â 5Â Â 10Â Â 20Â Â 50Â Â 100 | ||||
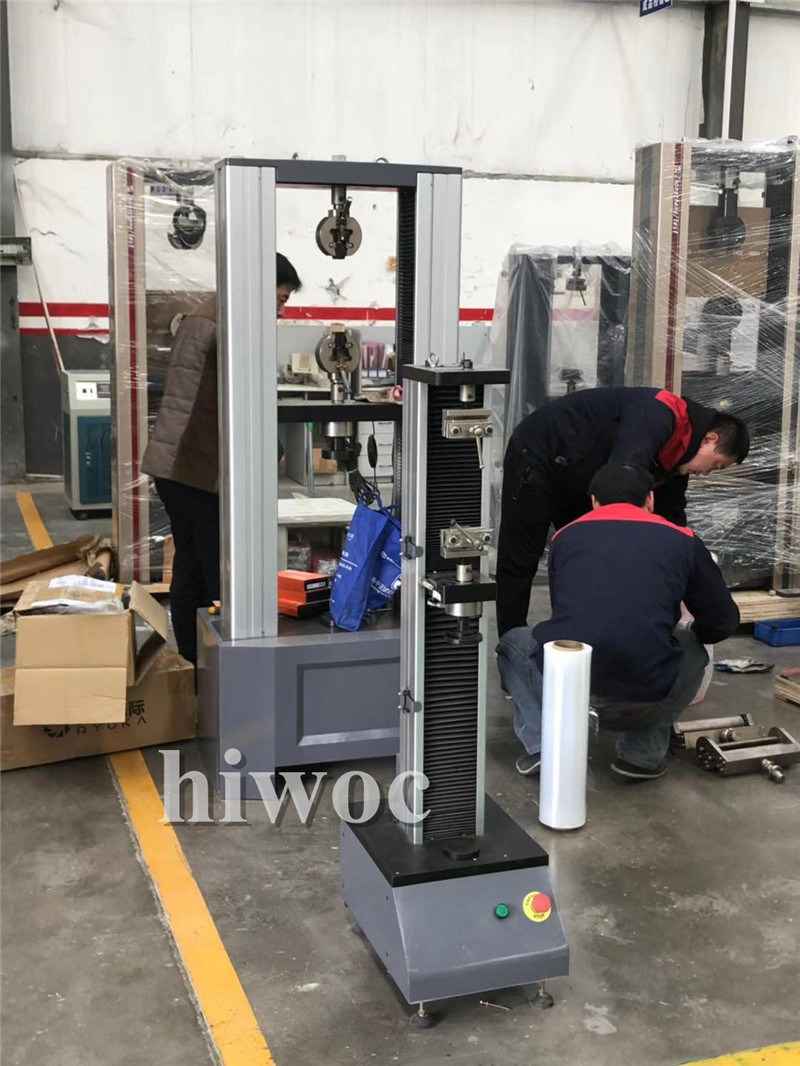
| Structure | Single-arm structure | Gantry floor structure | ||
| Maximum test force | 05Â Â 1Â Â 2Â Â 5Â Â 10Â Â 20Â Â 50Â Â 100 | |||
| Test machine level | 1 or 0.5 | |||
| Operation Mode | Microcomputer control () Chinese or English software operation) | |||
| Force measurement range | 2%-100% or 0.4%-100% of the maximum test force | |||
| Test force accuracy | ±1% or ±0.5% better than indication value | |||
| Deformation display error | ±1% or±0.5% | |||
| Speed adjust range |
Standard model:0.01-500mm/min High configuration:0.001-500mm/min |
|||
| Test Stroke | ≥600mm(could be customized according to customer need) | |||
| Test space adjustment mechanism | E-type imported AC servo motor, low noise synchronous belt drive | |||
| Meet the standard, | Accord to national GB/T2611 standard | |||
| Protection function | Overload protection, limit protection | |||
| Supply power | 220V | |||
| Working environment | temperature -45 ° C, humidity 20% -80% | |||
| Fixture tool | According to the customer's requirements | |||
| Overall | 450x260x1470mm | 700x580x1720mm | 700x580x1850mm | |
| Weight | 120KG | 450KG | 550KG | |
| Â | Â | Â | Â | Â |
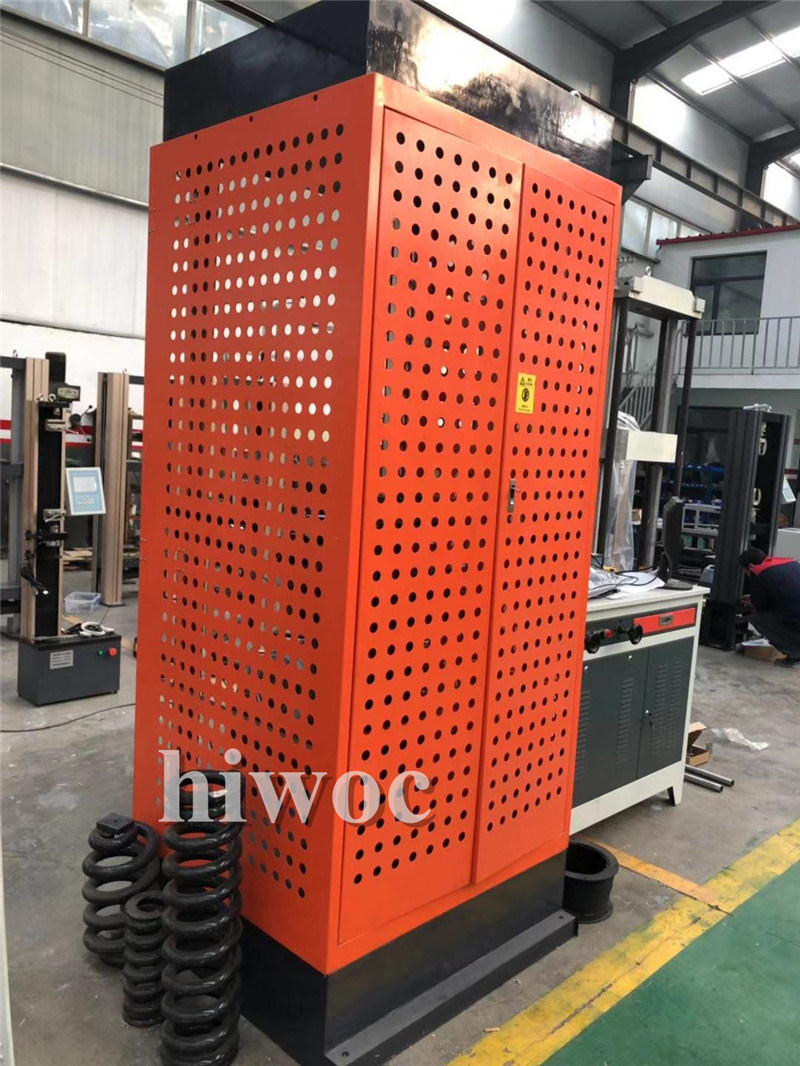
Welcome to our factory to inspect!!
 WDW Series
Microcomputer control electronic universal testing machine
Mainframe structure
1. The gantry floor-standing structure absorbs the production technology of Japan Shimadzu and Germany Zwick.
2. The upper beam, the middle beam, the lower beam and the bottom panel form a frame structure through two pairs of ball screws, which ensures the rigidity of the frame structure.
3. Adopt all-digital AC servo motor to drive two pairs of high-precision non-gap ball screw to transmit through the noise-free synchronous toothed belt to ensure smooth loading, no gaps and high transmission efficiency.
Displacement measuring device
With 5000 line photoelectric encoder, the relative accuracy of displacement is ≤±0.5%
Test attachment
The high degree automation of the test process and dozens of different attachments can meet the testing requirements for a wide range of materials.
Test force measurement
1. High-precision, high-stability wheel type strain sensor with high-precision measurement and amplification system to ensure high precision of test force
2. Multiple sensors can be used according to user requirements to achieve a wider range of test force measurements
Limit switch
This series of testing machines has limit protection function, which automatically stops when the limit is reached.
Software system
The famous brand computer is used like Lenovo, and the control system software is based on the Windows XP operating system. It has the characteristics of fast running speed, clear interface and simple operation, which can meet the test requirements of different materials. Physical testing of various materials can be carried out according to international standards, national standards or industry standards.
Function Features
1. The speed of the moving beam during the test can be changed automatically according to a preset program or manually.
2. Automatically switch to the appropriate range according to the load size to ensure the accuracy of the measurement data, zero adjustment of the test force measurement, calibration and save, without any analog adjustment link, the control circuit is highly integrated
3. Automatic calibration: the system can automatically realize the calibration of the indication accuracy
4. Auto save: At the end of the test, the test data and curve are automatically saved.
5. Process test: test process, measurement, display and analysis are all completed by microcomputer
6. Batch test: Samples of the same parameters can be completed in sequence after setting once.
7. Test software: Chinese and English windows interface, menu prompts, mouse operation.
The main technical parameters
| Main Specification | WDW | |||
| 05Â Â 1Â Â 2Â Â 5Â Â 10Â Â 20Â Â 50Â Â 100 | ||||
| Structure | Single-arm structure | Gantry floor structure | ||
| Maximum test force | 05Â Â 1Â Â 2Â Â 5Â Â 10Â Â 20Â Â 50Â Â 100 | |||
| Test machine level | 1 or 0.5 | |||
| Operation Mode | Microcomputer control () Chinese or English software operation) | |||
| Force measurement range | 2%-100% or 0.4%-100% of the maximum test force | |||
| Test force accuracy | ±1% or ±0.5% better than indication value | |||
| Deformation display error | ±1% or±0.5% | |||
| Speed adjust range |
Standard model:0.01-500mm/min High configuration:0.001-500mm/min |
|||
| Test Stroke | ≥600mm(could be customized according to customer need) | |||
| Test space adjustment mechanism | E-type imported AC servo motor, low noise synchronous belt drive | |||
| Meet the standard, | Accord to national GB/T2611 standard | |||
| Protection function | Overload protection, limit protection | |||
| Supply power | 220V | |||
| Working environment | temperature -45 ° C, humidity 20% -80% | |||
| Fixture tool | According to the customer's requirements | |||
| Overall | 450x260x1470mm | 700x580x1720mm | 700x580x1850mm | |
| Weight | 120KG | 450KG | 550KG | |
| Â | Â | Â | Â | Â |
Welcome to our factory to inspect!!


Â
Embroidery Machine for Sale,Computerized Embroidery Machine,2 Heads Embroidery Machine,Toyota Embroidery Machine
Embroidery Machine,Computerized Embroidery Co., Ltd. , http://www.embroiderymachinemanufacturer.com